The finish starts with the substrate
Cabinet material and existing finish matter. Ask how doors, frames and hardware are identified, cleaned, deglossed or sanded, repaired and primed.
Cabinet painting can refresh a room, but durability depends on careful assessment, preparation, compatible coatings and a realistic plan for disruption.
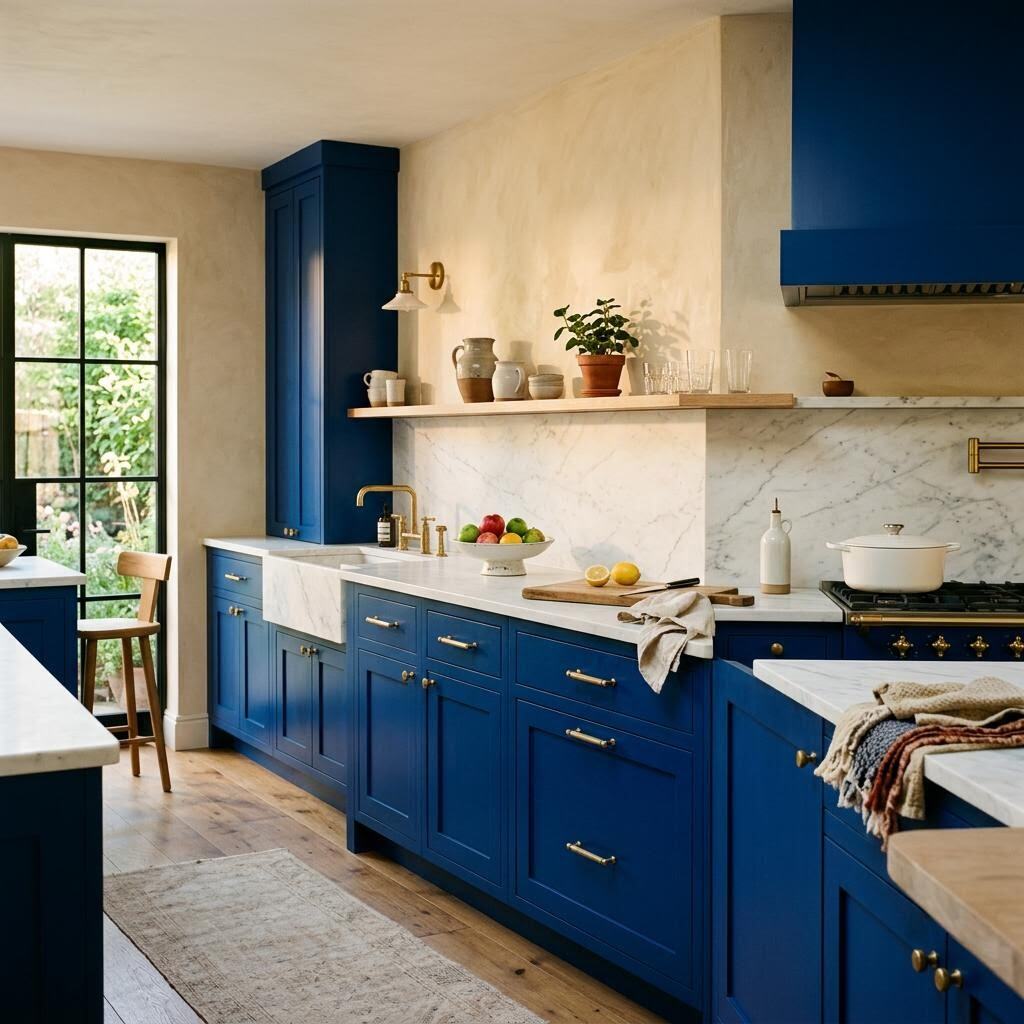
Cabinet material and existing finish matter. Ask how doors, frames and hardware are identified, cleaned, deglossed or sanded, repaired and primed.
Clarify whether doors are removed, where coating and curing happen, how the kitchen is protected, how hardware is handled and when the space can be used again.
Confirm sheen, colour, sample approval, coating system, number of coats as scoped, exclusions and care instructions in writing. Not every cabinet finish is a good candidate.
Cabinets sit beside fixed materials. Test sample doors against your counter, backsplash and floor before committing; saturated colours like deep blue reward this step.
Send your project details by email through the inquiry form, or copy and download a brief for your own records.